How to Install Cygwin/X
To install Cygwin/X on Windows 7:
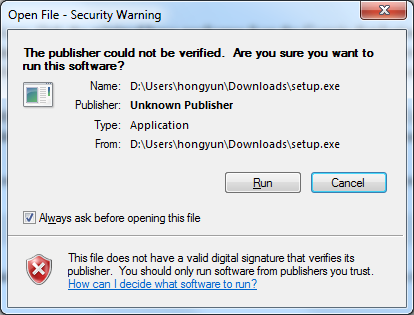
1. Download the Cygwin setup.exe file from www.cygwin.com. When done, click on the setup.exe file to begin the installation process. If the Security Warning comes out, click Run
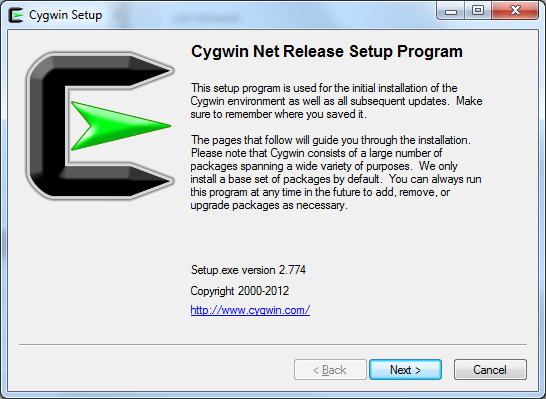
2. Choose Next to move pass the first screen
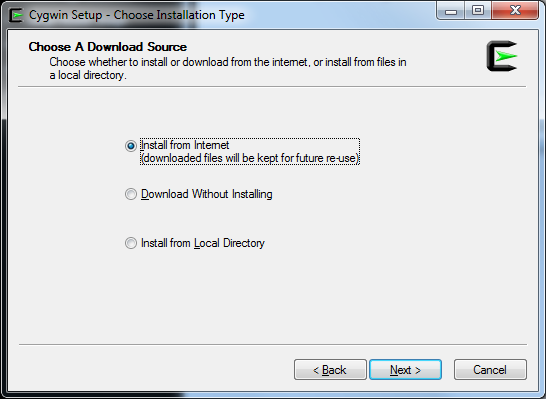
3. Select "Install from Internet", and click Next
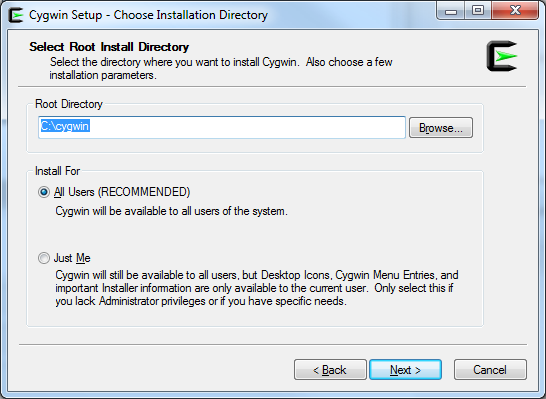
4. Set Root Directory to C:\cygwin (this is likely the default), Install for All Users. Click Next
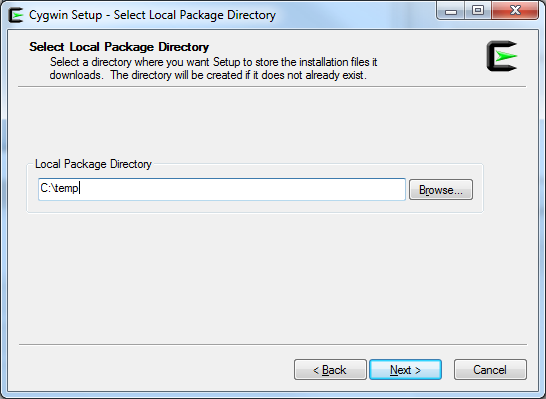
5. Set the local package directory to C:\temp. Click Next
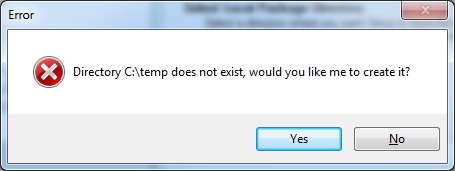
If C:\temp folder doesn't exist, it will prompt you to create it. Click Yes
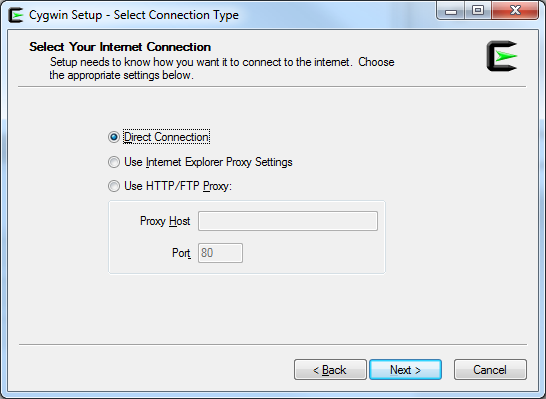
6. Set your connection type to Direct Connection. Click Next
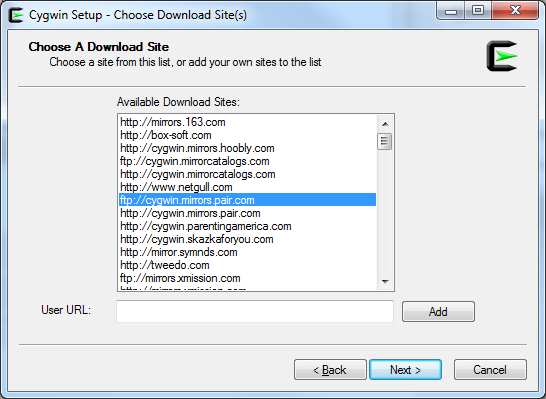
7. Choose a download site. Note: sometimes one may be down, and you'll have to re-do the process and select another site. Click Next
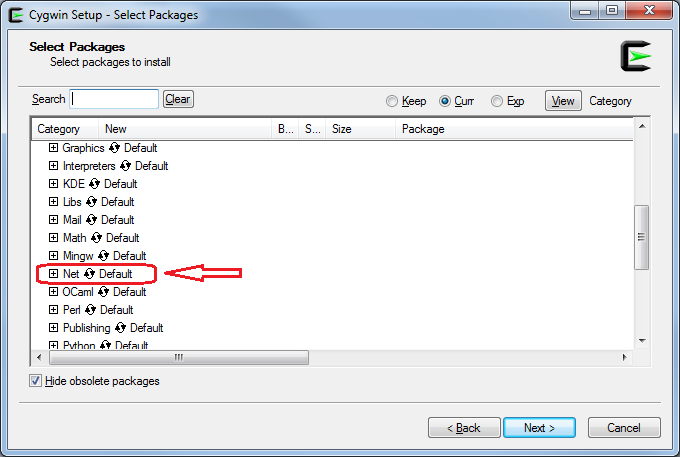
8. On the "Cygwin Setup - Select Packages" window:
a. Scroll down untl you see Net, and click  to expand Net
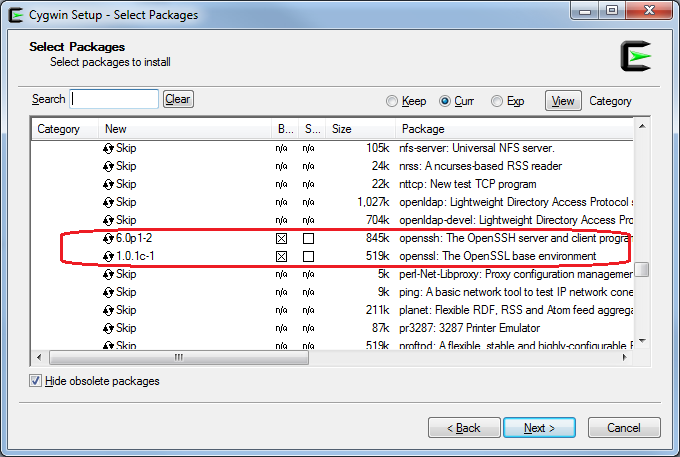
b. Select the following packages: openssh and openssl
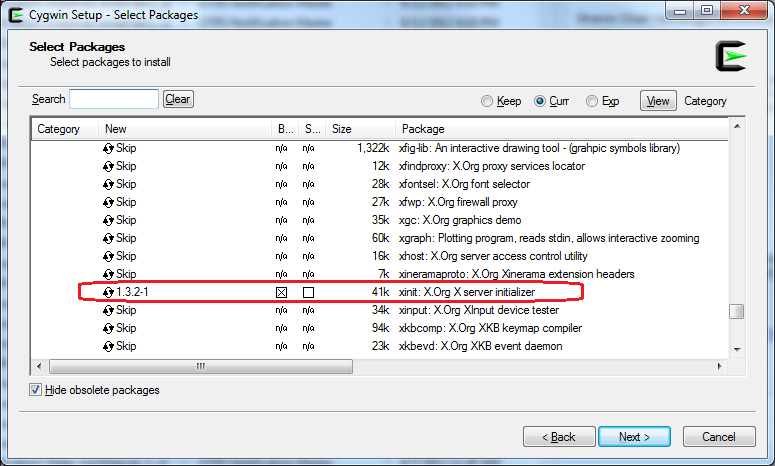
c. Scroll down some more, and expand X11. Select xinit package
d. Click Next.
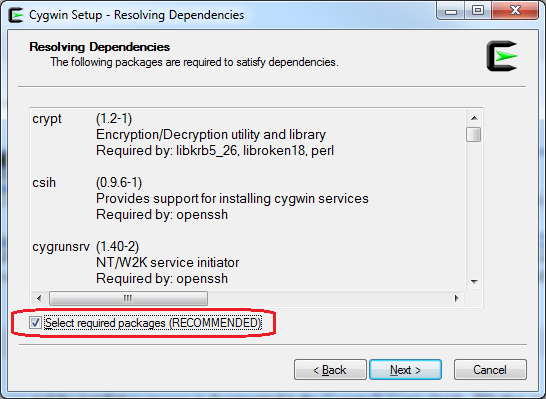
e. If the Resolving Dependencies window come out, make sure the "Select required packages" is checked and then click Next
9. Cygwin will now perform its installation process. When it finishes, select to have the icon appear on the Desktop and the Start Menu. Click Finish.
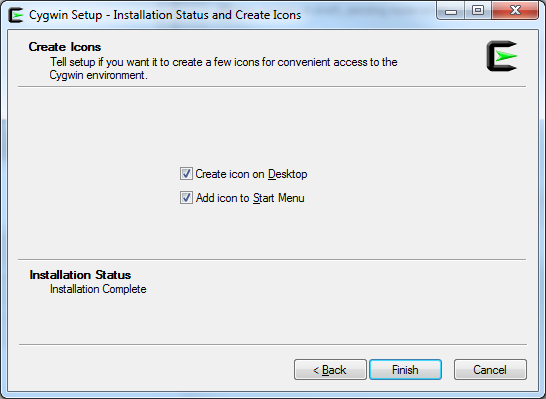
10. Cygwin/X is now installed.